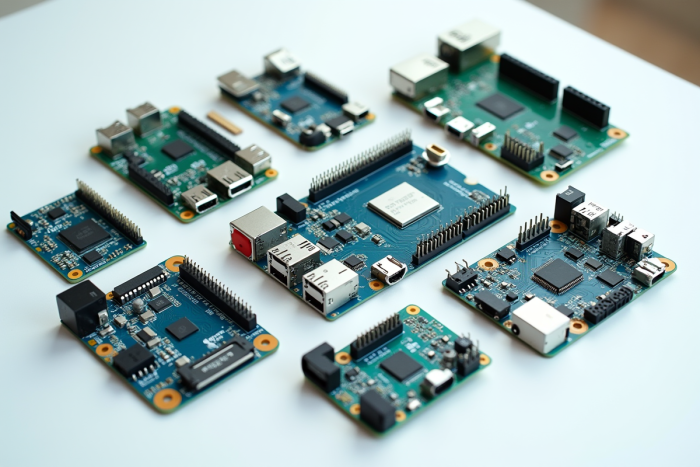
An Arduino Uno board is not always sufficient to drive powerful motors or manage complex communications. The Nano, Mega, or Leonardo models meet specific requirements that are often overlooked during initial choices. Jumping from a simple project to a complex embedded system exposes unforeseen limitations, such as insufficient ports or incompatibility with certain sensors.
Some boards, reputed for their versatility, actually reveal decisive hardware restrictions depending on the intended use. The diversity of the Arduino catalog comes with a hierarchy of performance and uses that you must master to avoid technical dead ends.
Understanding the Arduino Universe: Overview of Boards and Their Specificities
In the world of Arduino, the variety of development boards is far from trivial. Each model has its own identity: number of digital pins, memory capacity, power options, and type of connectivity. For many, the Arduino Uno board is the ideal entry point. Easy to handle, compatible with the vast majority of accessories, it offers thirteen digital pins, six analog inputs, and plug-and-play management via USB. It is the choice of comfort and reliability, but its limitations quickly become apparent as the project grows.
At the other end of the spectrum, the Arduino Nano board condenses the power of the Uno into a miniature format. It becomes essential when space is limited: discreet installations, smartwatches, embedded projects. Despite its size, it offers sixteen digital pins and remains compatible with most standard modules, while consuming very little energy.
To orchestrate more ambitious projects, the Arduino Mega board brings out the heavy artillery: 54 digital pins, 16 analog inputs, and a much larger memory. It is the playground for robotics enthusiasts or complex interactive installations.
The Arduino MKR series targets connected projects. Designed for the Internet of Things, it features wireless connectivity (WiFi, LoRa, GSM) and finely manages voltage, ideal for autonomous devices or battery-operated systems.
To further expand the realm of possibilities, there are alternatives. For example, the Gertduino stands out with an architecture suited for various environments. It allows for advanced experimentation, management of complex signals, and remains compatible with many additional modules.
Before making your choice, ask yourself the right questions: necessary power, USB port management, presence of an ADC or DAC, supported voltage, flash memory capacity, nature of the microcontroller, availability of components… The ideal board is not a theoretical choice: it imposes itself in the field, based on real needs and project constraints.
Which Arduino Board to Choose for Your DIY Project? Practical Tips and Inspirations
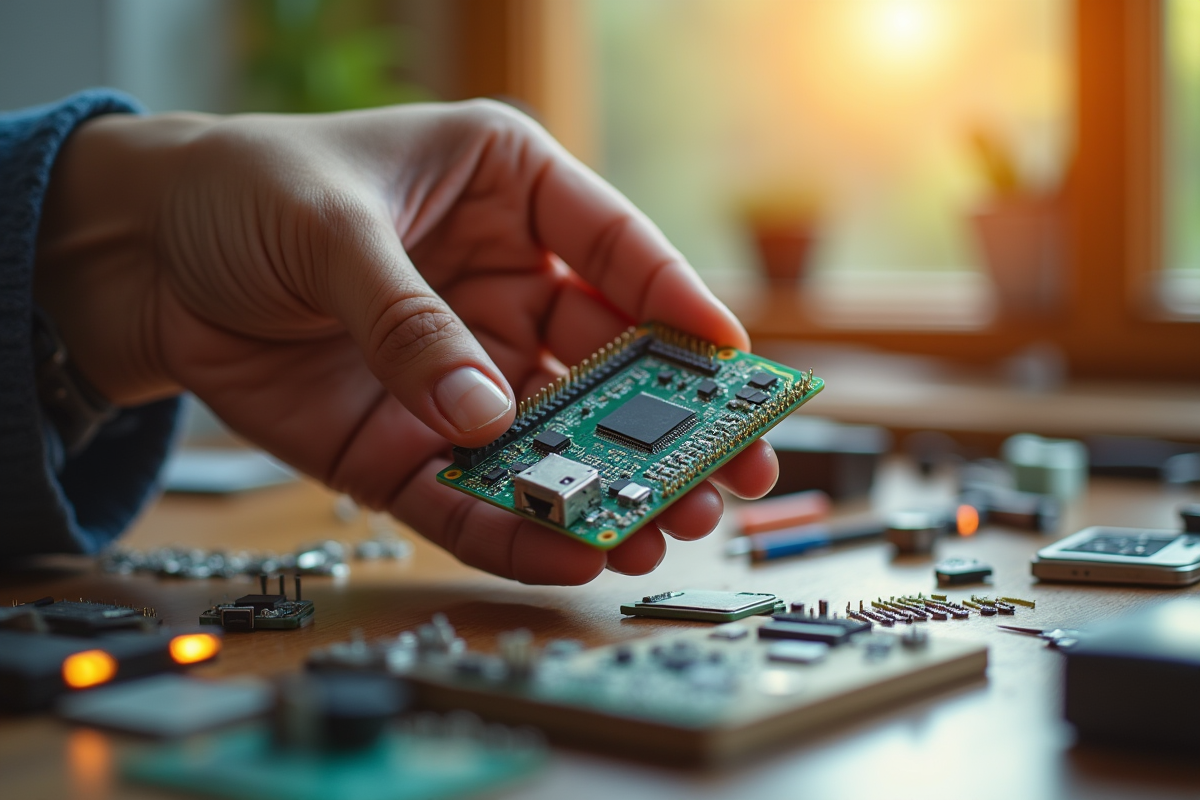
The choice of an Arduino board primarily depends on the project in question and the level of complexity aimed for. For a modest prototype, driving LEDs, managing a push button, or initial experiments with sensors, the Arduino Uno board provides a solid foundation. It appeals with its robustness, compatibility with most shields and modules, and its universal USB port. Both beginners and experienced hobbyists find a familiar and reliable ground.
If space becomes an issue, the Arduino Nano board easily fits into tight spaces. Its energy consumption remains very low, making it perfect for discreet or embedded devices.
Robotics projects raise the bar: multiple motors, management of a swarm of sensors, processing of varied signals. Here, the Arduino Mega board stands out, with its 54 digital pins, 16 analog inputs, and generous memory. It allows for the management of complex systems without risking technical dead ends.
For a connected application, weather stations, home automation, remote sensors, the Arduino MKR range makes perfect sense. With its WiFi, LoRa, or GSM connectivity, it facilitates remote communication. Its low-voltage power management also makes it relevant for autonomous modules powered by batteries.
To move forward effectively, it is better to draw up a precise list of needs. Here are the main criteria to consider:
- The number of pins needed to connect motors, sensors, and actuators
- The type of power supply available or required by the project
- Compatibility with the chosen sensors or modules
- The expected computing power to process data in real-time
Adjust the board to the use, never the other way around. The Arduino ecosystem is rich in resources, tutorials, and feedback. It allows for all kinds of boldness, as long as technical coherence is maintained.
Choosing the right board is laying the first stone of a project that will go far. The satisfaction of seeing your system work smoothly is the greatest reward. And what if this detail was the key to the success of your next electronic challenge?